Its a dilemma you face every year.
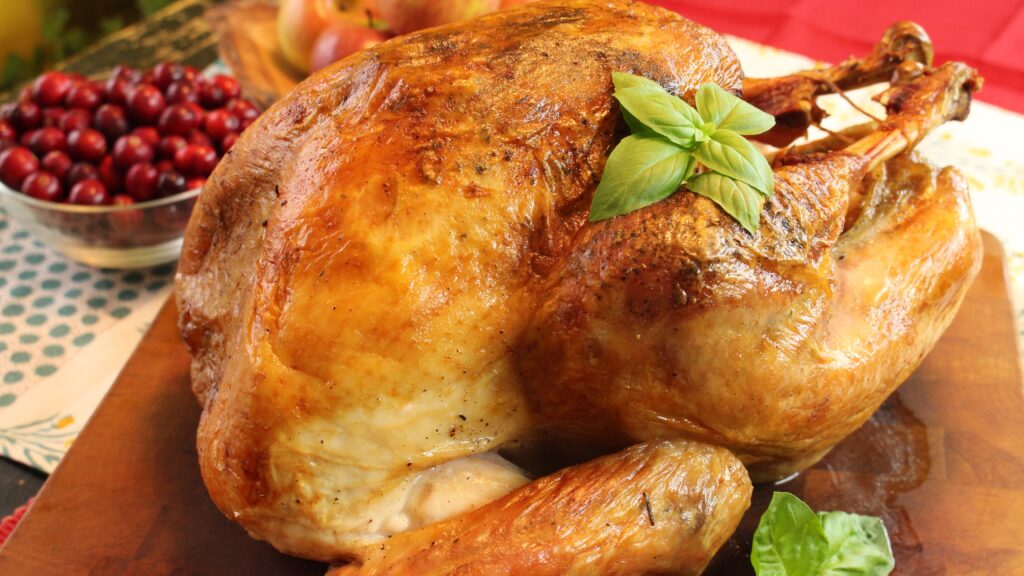
Preparing a golden crispy skinned turkey that is still moist on the interior.
Everyone has a secret recipe for cooking a turkey that they swear by.
But here’s the thing: there’s really just one important step you need to do to ensure your turkey success.
Dry brine your turkey to keep things easy. It’s as easy as sprinkling salt on your turkey and storing it in the fridge for a few days.
This article will walk you through the process of dry brining a turkey.
Contents
- What is dry brining?
- Why dry brine a turkey?
- How to dry brine a turkey
- FAQs
- How long should I dry brine my turkey?
- Do you need to rinse turkey after dry brine?
- What do you use for dry brine?
- Do you need to wash a turkey before dry brining?
- Can you dry brine in 2 hours?
- What is the optimal dry brine time?
- Should I dry brine a Butterball turkey?
- Can you use too much salt in a dry brine?
- Can I use table salt to dry brine a turkey?
- Do you cover a dry brine turkey?
What is dry brining?

Dry brining is just a fancy way of saying “rubbing meat with salt and letting it sit in the refrigerator before cooking.”
This simple act does two important things:
- Through osmosis, salt sucks out fluids and dissolves in them, forming a natural brine. The natural brine is then absorbed back into the meat.
- Salt tenderizes and moistens the meat. The natural brine breaks down difficult proteins once it has been reabsorbed in the meat.
As a consequence of this procedure, the proteins retain moisture for a considerably longer period of time, resulting in a more juicy finished product.
Why dry brine a turkey?

Large, lean cuts of meat, such as turkey, are prone to drying out.
Dry brining your turkey gives you many benefits:
- If you leave the turkey in the refrigerator uncovered for two days, the skin will totally dry off. When properly cooked, this will result in a crispy and golden-brown turkey.
- Dry brining, as opposed to wet brining, which requires sublimating meat in a container with a salt solution, saves space. Furthermore, dry brining a turkey requires no additional equipment. All you need is a sheet pan or a roasting pan.
- Dry brining is less messy than wet brining.
If you want to attempt wet brining, we have a fantastic turkey wet brine recipe for you.
How to dry brine a turkey
Before you begin, be certain that you have chosen a turkey that has not been seasoned.
Avoid kosher turkeys since they are pre-seasoned, and avoid self-basting turkeys. Before being frozen, they are injected with a salt solution.
Just go for a natural turkey.
1. Pat the turkey dry
Generally, the salting procedure should be completed three days before cooking.
Let the turkey thaw first if it was frozen
Yes, you can dry brine a frozen turkey, but it won’t be as effective.
Allow the turkey to defrost for at least 24 hours to get the desired flavor.
When the turkey has thawed, pat it on the interior and exterior.
Check to see whether the turkey is totally dry. The dryness on the surfaces of the birds guarantees that the salt does not dissolve in any pre-wetness once applied.
2. Salt the turkey
It makes no difference whether the turkey is entire or not.
Brining can also be done on a piece of turkey.
My preferred way is to spatchcock the turkey before brining it.
When salt is applied directly to the flesh, it has a greater impact. It improves the flavor and juiciness of the turkey. Sprinkling salt on the skin of the turkey, on the other hand, signifies that it will take longer to penetrate thoroughly to the flesh.
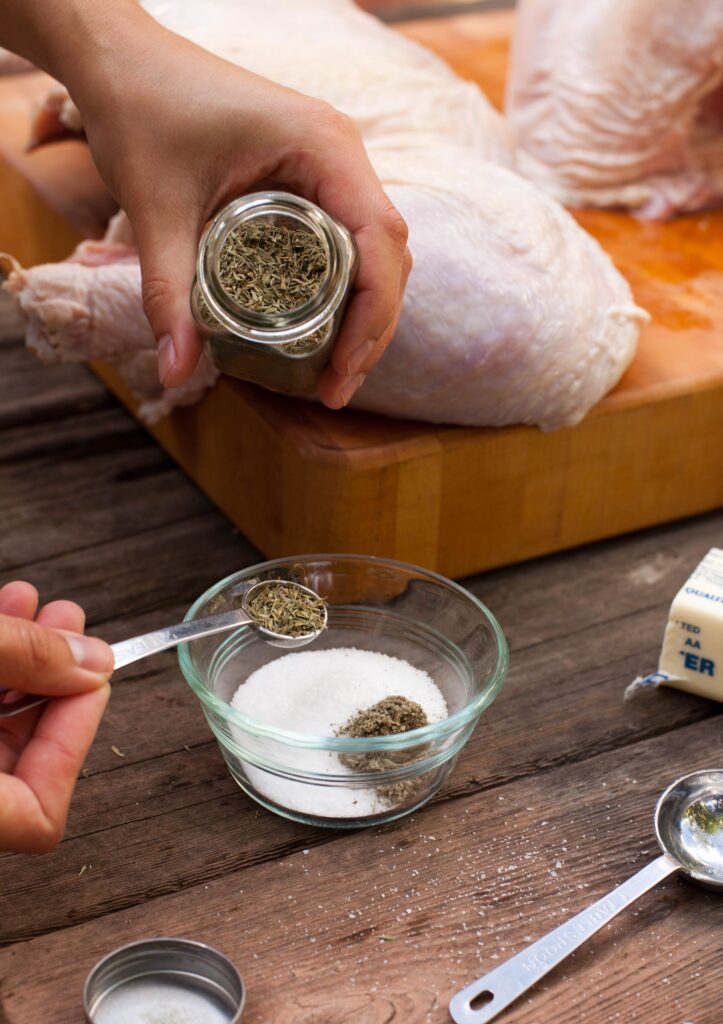
Per pound, use a tablespoon of diamond crystal kosher salt.
Table salt granules are too fine to be utilized in this situation.
It may leave your turkey a touch salty if you use it. Rub the kosher salt into every section.
This means you’ll have to massage it all the way beneath your skin. Don’t forget to massage some extra salt into the dense places. Because the breast is thicker, it may need extra salt.
3. Put the turkey in a refrigerator
It is preferable to leave the turkey in the refrigerator uncovered to allow the skin to dry.
Find a nice tray or sheet to place the turkey
A rimmed baking sheet may be used for this. Any moisture that seeps off the turkey will be trapped. What else? You may alternatively put the turkey in a pan that will be used to cook it later.
Put it in the refrigerator
Allow the turkey to brine in the refrigerator once you’ve made space for it.
In most cases, the procedure takes at least one hour per pound. Depending on the size of your turkey, it may last up to three days.
If the notion of leaving a turkey in your refrigerator exposed sounds strange, cover it loosely with a plastic bag. However, you must expose it for the final six hours before cooking to allow the skin to dry.
4. Don’t rinse the turkey
The salt will thoroughly season the turkey after 3 days. There will be no salt residue on either the skin or the flesh.
This eliminates the need to rinse the turkey. If you rinse it, you will not get that crispy exterior while cooking it.
After that, you may proceed to prepare your turkey. To produce crispy skin on the turkey, we like to smoke it at a higher temperature than normal.
Wrapping it up
In a word, dry brining is quite simple. Consider dry brining a turkey if you have one in the fridge.
That will result in a well-seasoned piece of meat. Furthermore, the turkey will be quite juicy. Just remember to use kosher salt and to apply it slowly.
You should also provide enough time for the brine to settle in the turkey.
Check out our smoked turkey tips post for additional ideas.
Otherwise, please share your thoughts on the topic in the comments section below. And don’t forget to share if you loved it.