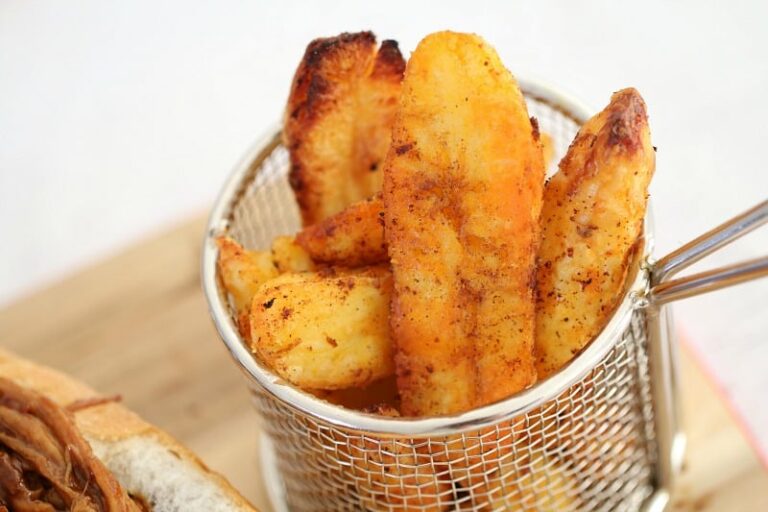
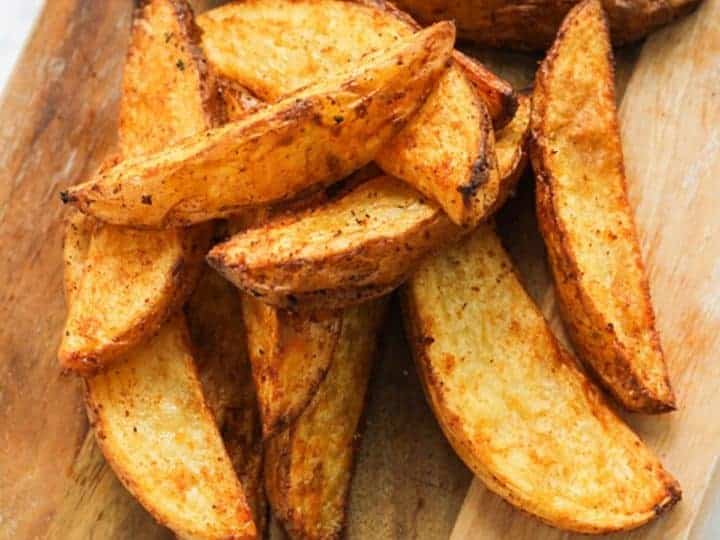
These extremely crispy potato wedges are fantastic with any meat meal or as a snack on their own.
To be honest, they require some time and effort, but they are well worth it, and the majority of the prep work can be done ahead of time.
I made the wedges Greek way for this dish, using sea salt flakes, oregano, rosemary, and lemon.
However, once you’ve mastered the method, there are several ways to change up the tastes.
Here are some alternative options for preparing them:
- parmesan and garlic
- truffle and parmesan
- with poutine
- salt and vinegar
- chipotle seasoning
- stuffed with smoked brisket, bacon, cheese, and bbq sauce
Contents
- Types of potato to look for
- What you’ll need
- How to make the crispiest potatoes you’ve ever tasted
- Try these other potato dishes
- FAQs
- Why are my potato wedges not crispy?
- Why are my homemade wedges soggy?
- Do I need to parboil potato wedges?
- Does soaking potatoes in water make it crispier?
- Why does soaking fries make them crispy?
- Why do you soak potato wedges in cold water?
- Do you leave the skin on potato wedges?
- What is the secret for wedges?
Types of potato to look for

For this dish, look for a potato with a red skin since it holds up nicely to the three cooking techniques without coming apart, but any kind will do.
Whatever you add on them, the resultant fries have a wonderfully crispy surface while remaining soft, heated, and fluffy in the inside.
As a side, I recommend 1.5-2 potatoes per person, but honestly, that quantity is glutenous and you’ll be OK with 1 per person.
However, everytime I’ve served them at a BBQ, I serve them in a huge wooden bowl and there are NEVER any left, such is their goodness.
What you’ll need

You’ll need a deep fryer and a big, deep saucepan for this dish, but other than that, you’ll just need the standard kitchen tools like a sharp knife and some bowls.
If you don’t have a deep fryer, deep frying in a pan or wok may provide excellent results.
Heres the method to getting them so fantastic
How to make the crispiest potatoes you’ve ever tasted
1. Wash and cut your potoes
To begin, you’ll want to wash your potatoes since I like to keep the skins on. They provide a lovely earthy flavor, but if you choose to peel them, they are as delicious without the skins!
After washing the potatoes, wipe them dry and cut them into 1 inch broad, long fries.
I prefer to cut the whole potato lengthwise into the required thickness, then lay each piece flat and cut lengthwise.
Now you are ready for Cook number one.
2. Cook number one – Boil
The first step in cooking these potatoes is to par-boil them.
It’s critical not to overcook them and thoroughly cook them since they’ll break apart in the following phase.
2 water on top of them), then liberally sprinkle with salt (about 3-4 big pinches). Put all of the potatoes in a big, deep saucepan and fill with just enough water to cover (approximately 1 cup).
I prefer Maldon Sea Salt flakes because they dissolve quickly in water and make me feel posh, but you can use any kosher salt.
Place the saucepan on the burner and, after the water is boiling, let them for 4-5 minutes before draining and steaming dry for a couple of minutes.
Return them to the pot in which they were cooked and softly shake the pan to fluff them up.
This is vital because when you fried them in the following stage, the more fissures and surface area for the oil to permeate into, the better the crunch on your finished product will be.
This is also why you don’t want to overcook them; if they’re cooked all the way through, they’ll break apart.
3. Freeze them to dry them out…
Line a baking pan with parchment paper, then spread the potatoes out in a single layer and place them in the freezer.
This will assist to dry out the potato, giving you more of that all-important crispiness you want.
You want the potatoes to air dry all over, so try not to let them contact on the tray. I put them in the freezer for about two hours. When you’re ready to start Cook Number Two, heat up your deep fryer to its highest setting.
4. Cook number two – Deep fry
Before you begin, check sure your oil is at the proper temperature. If the oil isn’t heated enough, your potatoes will be oily and mushy, which isn’t what you want.
Most electric deep fryers have built-in temperature monitors that will inform you when your oil is ready, but if you’re using the oil in a pan on the stove technique, there are a few of methods to ensure the temperature is correct:
1) Dip the handle of a wooden spoon into the oil. If small bubbles develop around it, the oil is hot enough; otherwise, you’ll wind up with a greasy handled spoon. The best way to check is as follows.
2) Using a high temperature thermometer, check that the oil temperature is about 280F or above.
Now its time to deep fry your potatoes.
It is critical not to overload the fryer since this causes two things:
- decreases the temperature of the oil (remember the mushy potatoes? ),
- and does not enable all of the potatoes to have maximum surface area contact with the oil, you will obtain the same outcome.
If you need to cook them in batches, go ahead and do so. You’re not in a hurry. Are you sure? These aren’t the Aussie potatoes that have been cooked three times using two distinct techniques for you. That was something I mentioned previously.
In any case, you should cook the potatoes for 4-5 minutes. Basically, you want them to start turning a wonderful golden hue and crisping up. Remove from the oil and set aside for 4-5 minutes to drain.
While your potatoes are draining, reline your baking pan with baking paper and spread them out in a single layer (without touching).
After they’ve cooled somewhat, return them to the freezer for another couple of hours of rest.
5. Cook Number Three
Cook number three is much the same as cook number two, so scroll back and repeat those steps.
The only change this time is that you will cook them for a little longer, perhaps 6-7 minutes.
However, keep an eye on them during the cooking process since certain potato kinds may cook faster than others, and it also depends on how thickly you chop them.
Drain the potatoes again and place them in a large mixing basin. I always sneak a taste of one or two.
6. Dressing your potatoes
Sprinkle your potatoes with equal parts of the following ingredients:
- Sea Salt flakes
- Rosemary
- Oregano
mix to coat, then add a generous squeeze of lemon juice and mix again before snatching a few more and serving.
Serve as a snack on their own or as a side to burgers, steak, or anything else you’d pair fries with.
A beer, of course. These taste well with almost anything, but I like a crisp German beer like a Pilsner.
Try these other potato dishes
- Homemade Classic French Fries
- Garlic and Rosemary Smoked Potatoes
- Herby Roasted Potato Salad